
How to Fix Wood Rot on Your Home’s Exterior
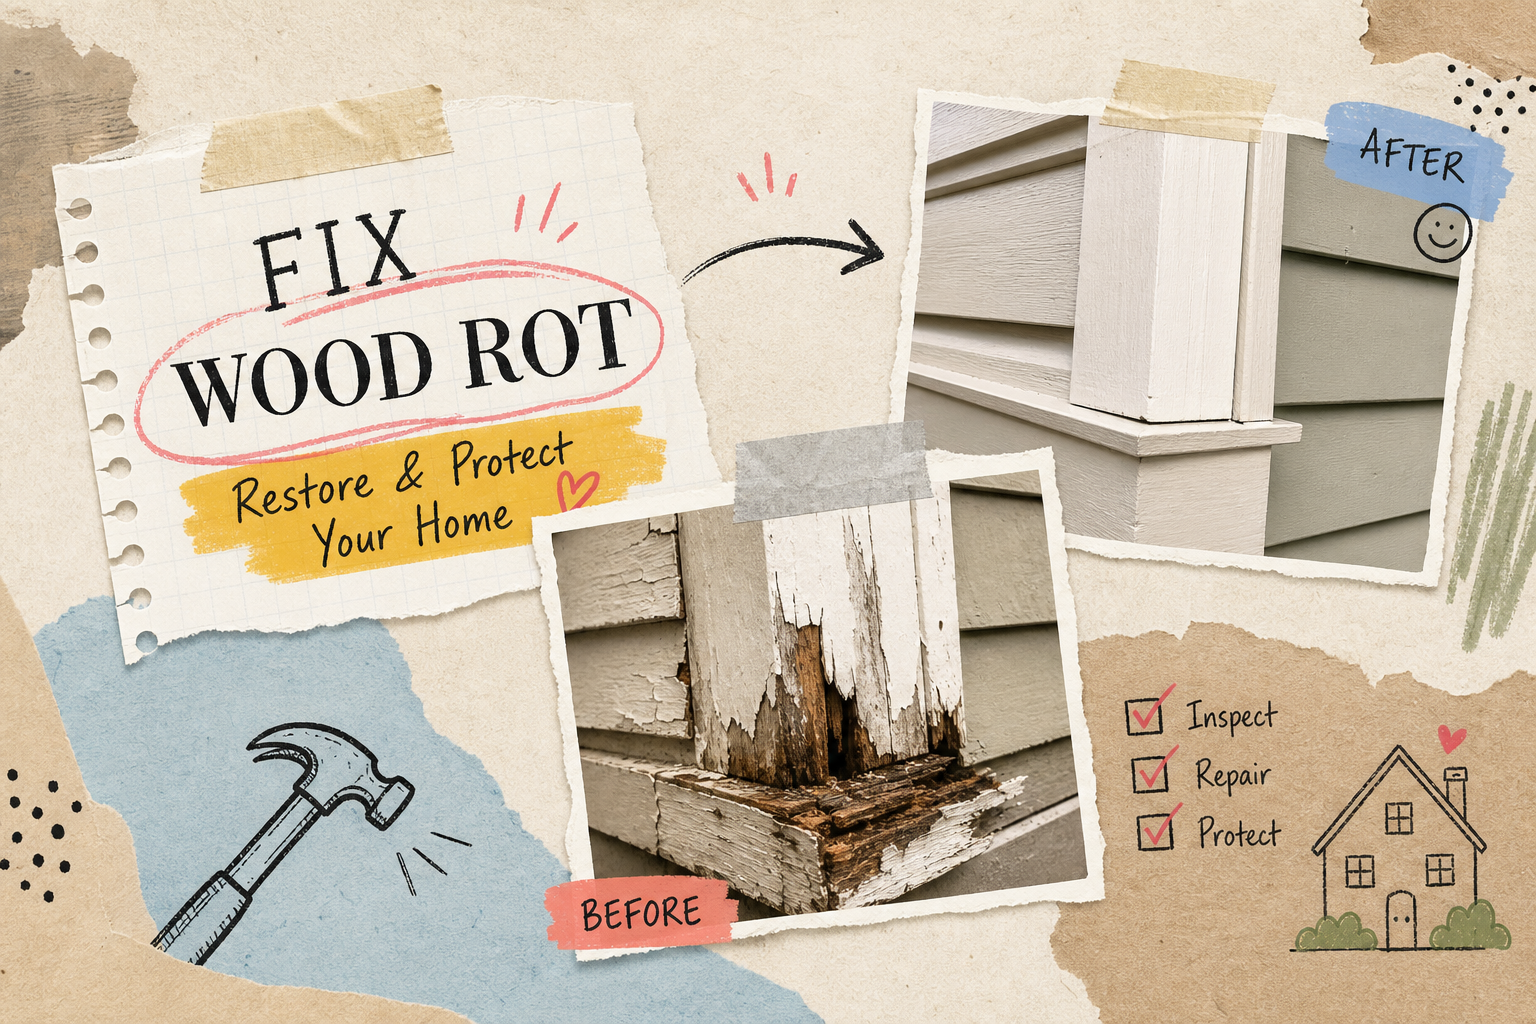
Wood rot is one of those problems that looks minor on the surface but rarely is. A soft spot on a window sill or a flaky patch of trim is almost never isolated, moisture has usually been working its way in for months before the paint even starts to bubble. By the time you notice it, the damage beneath is often larger than what you can see.
The worst thing you can do is grab a brush and paint over it. Paint is a finish, not a fix. Experienced exterior crews here in Richmond know this better than anyone: before a single drop of paint goes on, you inspect, assess, and repair what’s actually broken. That philosophy is what separates a repair that lasts a decade from one that fails before winter.
This wood rot fix guide walks you through how to find rot, judge how serious it is, fix it the right way, choose the right products, and keep it from coming back. Whether you’re tackling a small trim repair yourself or figuring out when to call a pro, this is the process that gets it done right the first time.
How to Spot Wood Rot on Your Home’s Exterior
Rot doesn’t announce itself. It builds quietly behind paint, inside end grain, and at the joints where two boards meet and trap water. Knowing where to look and what to look for lets you catch it early, when the wood rot fix is straightforward and inexpensive.
The most rot-prone spots on any home’s exterior are window sills, fascia boards, door casings and jambs, exterior trim, siding near ground level, and porch elements like posts and deck boards. These areas share one thing in common: they all collect water, hold it longer than the rest of the surface, and often have end grain exposed directly to the elements.
Visual Clues That Rot Is Already Underway
A walk around your home’s perimeter, especially after a rain, tells you a lot. Look for peeling or bubbling paint, dark discoloration or staining on wood surfaces, small patches of fungal growth, cracking or shrinking wood at joints, and any areas where the paint appears intact but the wood underneath looks slightly sunken or wavy. Those subtle depressions are often a sign of surface collapse from moisture damage below.
Pay special attention to end grain, the cut ends of boards where the wood’s fibers run directly to the surface. End grain absorbs moisture far faster than face grain and is often the first place rot takes hold, even when the painted face of the board looks perfectly fine. If you see paint failure concentrated at the ends of a board, that’s where you start your inspection.
The Screwdriver Test: A 60-Second Check Anyone Can Do
Visual inspection only tells part of the story. The probe test fills in the rest. Take a standard screwdriver or an awl and press it firmly into any area you suspect. Apply real pressure, don’t just tap the surface. If the wood resists and the tool only penetrates slightly, the damage may be shallow and the board’s core is likely still sound. If the tool sinks in easily, or the wood crumbles around it, you’re dealing with something more serious.
Follow the probe test with a tap test on any suspect area. A solid board sounds dense when you knock on it with your knuckle. A board with significant internal decay sounds hollow or dead. These two checks together give you a reliable read on what you’re dealing with before you commit to any repair method.
Surface Rot vs. Structural Damage: What the Difference Means for Your Wood Rot Fix
Not all rot is created equal, and the severity of the damage completely determines your repair approach. Getting this assessment wrong in either direction costs you: patching structural damage with epoxy is unsafe, and replacing a trim board that could have been repaired costs more than it needs to. If you’re unsure where a problem sits on that spectrum, guidance on how to tell if wood rot is surface damage or structural damage can help you choose the correct path.
When the Damage Is Shallow and Localized
Surface rot is confined to the outer layer of the wood. The board still holds its shape, the probe test shows firm resistance below the soft spot, and the damage is contained to a non-load-bearing piece like fascia, window casing, or decorative trim. The screwdriver may sink a little at the surface, but a few millimeters in, it stops. This is exactly the kind of rot a hardener-and-epoxy wood rot fix is designed for, and it’s solidly within DIY territory if you follow the process correctly.
Surface rot on exterior trim is extremely common in Virginia’s climate. The combination of humid summers, temperature swings, and heavy seasonal rain cycles means painted wood surfaces take a beating. Catching it at this stage, before it spreads to the structural layer, is what makes the difference between a two-hour repair and a full board replacement.
When Rot Has Gone Deeper Than the Surface
Structural rot means the wood has lost meaningful strength. The screwdriver sinks deeply with little resistance, the board feels spongy or hollow when tapped, and you may notice visible warping, sagging, or movement around the affected area. In load-bearing members, sill plates, rim joists, beams, deck posts, stair stringers, this level of decay is not a candidate for epoxy repair. Full replacement is the only structurally safe answer.
The decision rule is straightforward: if you can’t reach solid, sound wood within a few inches by removing the decayed material, replace the member entirely. Epoxy restores shape and surface integrity; it doesn’t rebuild structural capacity that’s been lost to deep decay. When in doubt, especially on anything that bears load or connects to framing, get a professional set of eyes on it before you commit to a repair method.
Wood Rot Fix: Step-by-Step Repair Method for Exterior Trim
For surface and mid-level rot on exterior trim, fascia, window sills, and siding, this workflow covers the full repair from start to finish. Follow it in sequence and don’t skip steps, the two most common failure points are skipping the hardener and painting before the epoxy has fully cured.
What to Gather Before You Start
Have everything on hand before you open a can. You’ll need a scraper, a chisel or oscillating multi-tool for removing soft material, a drill for accessing deeper repairs, a mixing board and putty knife for the epoxy, a 100-grit sanding block, wood hardener, two-part epoxy filler, exterior primer, and exterior caulk for joint sealing after the repair. Work on dry days with temperatures above 50°F for consistent cure times across all products.
The Repair Sequence from Removal to Finish Coat
Work through these steps in order without shortcuts:
- Remove all soft, crumbly material back to solid wood. Use a chisel, scraper, or oscillating tool to cut out every bit of compromised wood. If you leave any soft material behind, the hardener can’t do its job and the repair will fail.
- Apply wood hardener generously to all exposed surfaces. Brush it on and let it soak in. For deeper repairs, drill small access holes into the affected area and work hardener into them so it penetrates the full depth of the damage.
- Let the hardener cure fully per the label instructions. Don’t rush this step. Most products need several hours at minimum, and some require overnight curing before you move on.
- Mix and press epoxy filler into the void. Work it firmly into the cavity with a putty knife and build in layers for larger repairs. You have roughly 10 to 15 minutes of working time before most two-part epoxies begin to set.
- Shape while workable, then sand flush after full cure. Rough-shape the epoxy with a putty knife before it hardens, then use a 100-grit sanding block after full cure, typically 24 to 48 hours, longer for thick repairs or cool weather, to get it flush with the surrounding wood.
- Prime the repair and surrounding area, then apply two finish coats. Use an exterior-grade acrylic bonding primer over the cured epoxy and slightly beyond the repair boundary. Two finish coats of 100% acrylic exterior paint seal the repair and protect it from moisture.
For a photo-backed walkthrough of using two-part epoxy to fill rotted trim, see how to use two-part epoxy to fill rotted trim.
Skipping the hardener step or applying primer before the epoxy has fully cured are the two mistakes that cause repeat repairs. Both take time to fail. You won’t notice the problem immediately, you’ll just find yourself back at the same spot in a year or two wondering why the patch failed.
The Best Wood Hardeners, Epoxies, and Repair Kits for This Job
Product selection matters, but it doesn’t need to be complicated. Match the product to the size and location of the repair, and make sure you’re always applying filler over a properly hardened substrate. One common mistake: buying filler before confirming the hardener and filler are compatible from the same product line.
Best Options by Repair Size and Budget
- Small localized repairs: JB Weld WoodWeld Syringe ($8, $15) handles cracks and tight voids with minimal waste. Bondo 3M Wood Filler ($8, $20) sands fast and fills well after stabilization with a hardener.
- Mid-size exterior repairs: Minwax High Performance Wood Hardener paired with Minwax High Performance Wood Filler ($20, $40 combined) is widely available, reliable, and proven on fascia, trim, and window sill work.
- Serious restoration work: Abatron LiquidWood plus WoodEpox ($60, $120 for the system) is a strong choice when you need deep penetration and a true structural rebuild on doors, windows, or porch elements.
- Low-odor option: PC Products PC-Petrifier Water-Based Wood Hardener ($15, $30) works well for enclosed or semi-interior repairs where ventilation is limited.
One Thing to Get Right Before You Buy
No filler or epoxy performs well over wet or actively deteriorating wood. The consolidant step isn’t optional, it’s the foundation that makes everything else adhere and hold over time. Applying epoxy filler to unsupported, uncured wood is like painting over rot: it looks fine for a while, then fails when the underlying material continues to break down.
Also check cure times before you plan your project schedule. Abatron WoodEpox typically needs 24 to 48 hours before sanding and finishing. TotalBoat FixWood may need five to seven days for full cure. In cooler temperatures or on thicker applications, add time rather than guessing. Patience at this stage pays off for years.
When to DIY and When to Call a Pro: Wood Rot Fix Guidance
Some rot repairs are a genuine weekend project. Others look like a weekend project until you get into them and realize the scope is entirely different. Knowing the line before you start saves time, money, and the risk of making a structural problem worse.
Repairs That Go Beyond a Weekend Project
If the rot has reached a load-bearing member, if the decay covers more than a localized section of the board, or if you can’t identify and correct the moisture source, the repair scope has shifted beyond standard DIY territory. Attempting to patch a structurally compromised sill plate or rim joist with epoxy is not a safe fix. These members support the weight of your home, and an inadequate repair creates a liability that compounds over time.
Extensive rot on multiple sections of exterior trim or siding is another sign to bring in a professional. At that point, the project involves significant removal, replacement lumber, proper priming of new wood, and a full repaint, a coordinated scope that’s much harder to manage across multiple separate contractors or several weekend sessions.
Why Pairing the Repair with a Repaint in One Visit Matters
When rot repair and exterior repainting are handled by the same crew in the same visit, the prep, priming, and finish coats are applied in the correct sequence over fresh repairs while the surface is properly staged. There’s no gap between trades, no repair sitting unprimed for two weeks while you wait on a painter to schedule, and no missed spots where moisture can sneak back into an unpainted patch.
This is exactly how Fix & Paint approaches exterior projects in Richmond. Their crews handle the carpentry repair and the full exterior repaint as a single integrated project, one team, one visit, one warranty covering both the structural work and the finish. For homeowners who want the job done once and done right, that single-vendor experience eliminates the coordination headaches and the coverage gaps that lead to repeat problems. Combined professional costs for rot repair plus a full exterior repaint typically run $3,300 to $11,500 or more depending on home size and extent of damage, but the durability of a properly executed project makes that investment straightforward to justify.
How to Stop Wood Rot from Coming Back
Repairing rot without addressing what caused it is a temporary measure. The repair holds, but the conditions that created the rot are still in place, and the cycle repeats. Prevention requires fixing the moisture source, not just the damaged wood.
Fix the Moisture Source Before Anything Else
Every rot repair should start with one question: where did the water come from? The most common culprits on Richmond-area homes include failed or missing caulk at trim joints, improper or deteriorated flashing above windows and doors, clogged gutters that overflow directly onto fascia boards, and end grain on trim boards left unprimed and unprotected. Eliminating the water source before you repair and repaint is the only way to prevent the same damage from reappearing in the same spot, and the only way a wood rot fix actually stays fixed.
After the repair is complete, apply a borate-based wood preservative to bare wood surfaces before priming. Borate treatments penetrate the wood fibers and suppress decay fungi at the fiber level. If moisture ever returns to the area, the treated wood has a layer of protection against new rot taking hold. This step takes ten minutes and extends the life of the repair significantly.
The Role of Paint and Sealing in Long-Term Protection
Exterior paint is your home’s primary moisture barrier. A quality finish coat applied over properly primed wood, with all joints caulked correctly, is what keeps rain and humidity from ever reaching the wood again. This is why the primer step matters so much: bare wood and epoxy repairs are both porous, and primer seals that porosity before the finish coat goes on. Skipping it, or using an interior-grade primer on an exterior repair, leaves the surface vulnerable from the start.
Pay particular attention to end grain on all trim boards. End grain absorbs moisture faster than any other wood surface and should always receive two coats of primer before the finish paint is applied. On new replacement boards, seal the cut ends before installation. On existing boards after an epoxy repair, treat the end grain as a separate priming step rather than assuming one pass is enough. This one habit extends the life of exterior trim work by years.
Repair It Right, Protect It Properly, and It Lasts
Wood rot on your home’s exterior is manageable when you catch it early, assess it honestly, and apply the right wood rot fix. Surface rot on trim or fascia is a solid candidate for a hardener-and-epoxy repair followed by a proper prime and two finish coats. Anything structural, anything with widespread decay, or anything you can’t trace back to a clear moisture source deserves professional attention before the problem grows.
The fix-before-you-paint principle applies every time: no amount of fresh paint makes compromised wood stronger or stops moisture from working deeper into the structure. Repair the damage first, seal the moisture source, prime correctly, and then protect it with quality exterior paint. That sequence is what separates a wood rot fix that holds from one that sends you back to the same spot next season.
If the rot on your exterior covers more than a small patch, or if the whole exterior is due for a repaint anyway, reach out to Fix & Paint for a free in-home estimate. Their crews serve Richmond and the surrounding metro, handling carpentry repairs and the full repaint as one integrated project. They back the work with over two decades of local experience and 627+ five-star reviews. One crew, one visit, no guesswork.