
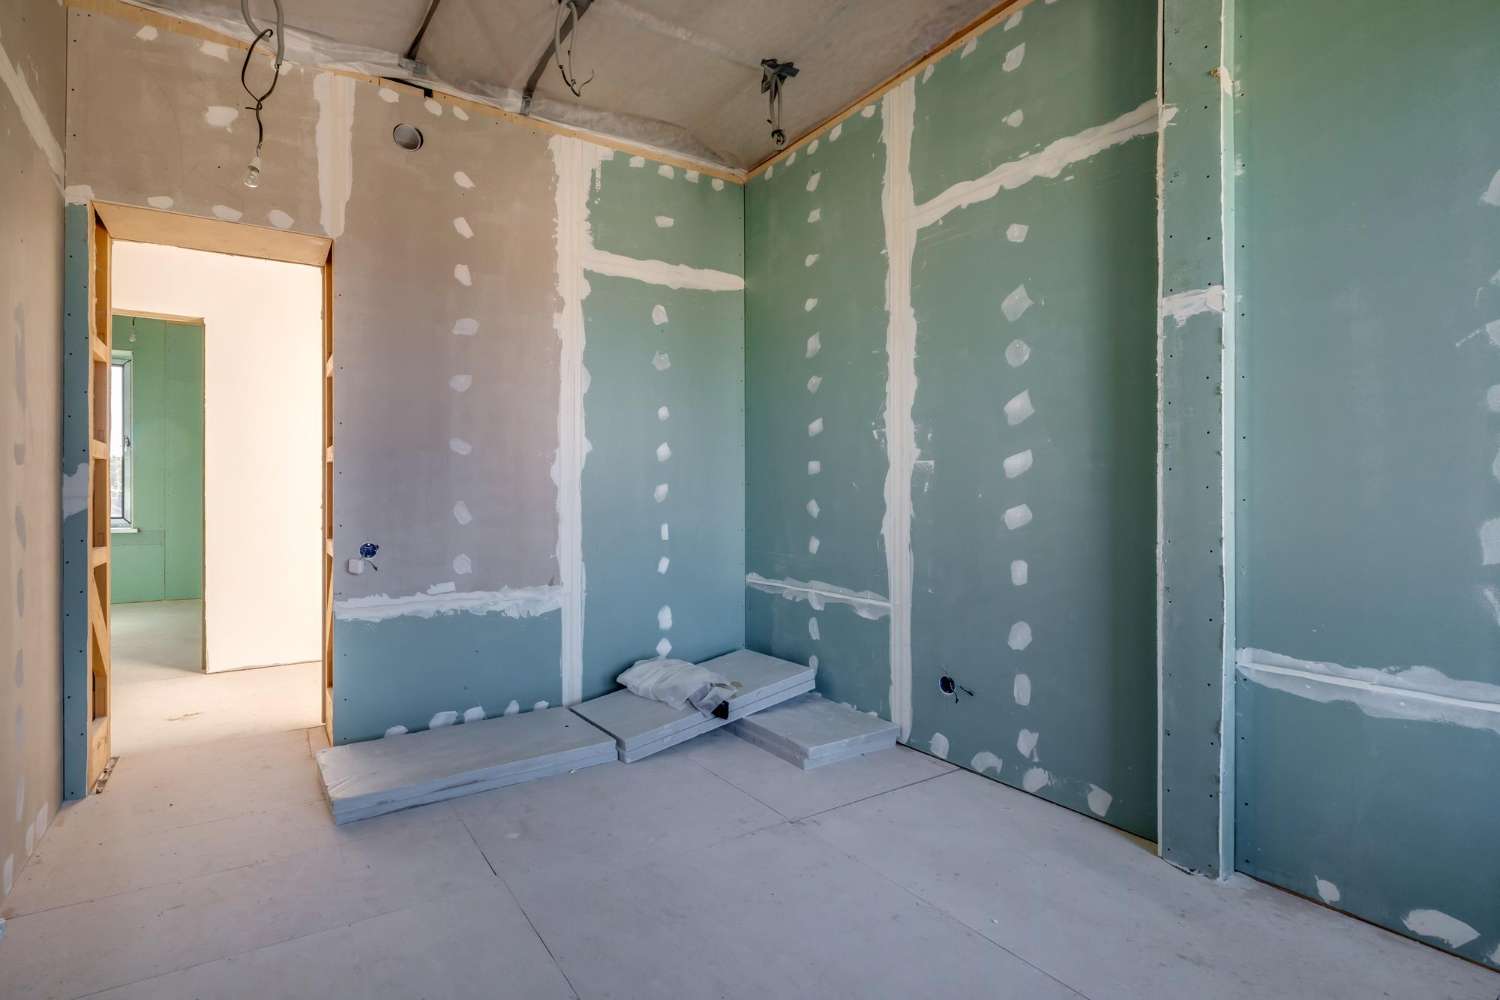
Fresh paint looks its best on a smooth, sound wall. Dents, cracks, nail pops, rough patches, and uneven texture do not disappear under a new color. In many cases, paint makes them easier to notice, especially once daylight or indoor lighting hits the wall.
Before we begin an interior paint job, we look closely at the condition of the drywall and the reason behind any damage. Our goal is to repair the surface so it blends into the surrounding wall, not simply cover a flaw with paint. For Richmond homeowners planning late-summer and fall updates, professional drywall repair and painting can help rooms feel clean, finished, and ready for more time indoors.
Why Wall Damage Shows up After Painting
A new coat of paint can draw attention to problems that were easy to ignore before. Light moves across a wall throughout the day, creating shadows around ridges, dents, and uneven patches. Overhead fixtures, lamps, and sunlight through a window can all reveal a repair that was not properly finished.
Paint sheen also matters. Flat paint may soften some minor flaws, but it does not hide damaged drywall. Eggshell and satin finishes can reflect more light, while darker colors and glossier finishes often make uneven areas stand out even more.
Before painting, we commonly see issues such as:
- Nail holes from pictures, shelves, and wall décor
- Dents and gouges caused by furniture or everyday activity
- Hairline cracks and popped drywall fasteners
- Peeling joint tape and old, uneven patchwork
- Holes left behind by wall anchors
Each concern calls for a different repair method. A tiny nail hole is not handled the same way as a larger hole, cracked seam, or damaged drywall edge. Treating every issue with a quick layer of patching material can leave a visible spot after the paint dries.
Some damage also deserves a closer look before any paint goes on. Cracks that keep returning, water stains, soft drywall, or repeated peeling can point to moisture or movement behind the surface. We assess the wall first so we can determine whether it needs a straightforward repair or more attention before primer and finish paint.
Matching the Repair to the Damage
Drywall repair involves more than applying spackle and painting over it. The size, depth, location, and condition of the damaged area all affect how we approach the work. A small hole may only need a suitable patching compound, while a larger opening can require backing material, new drywall, tape, joint compound, and several carefully applied coats.
Stability comes before appearance. Loose drywall, protruding fasteners, separated tape, and crumbling edges need to be secured or removed before we begin finishing the surface. Even a patch that looks smooth at first can crack or pull away later if the area beneath it is not sound.
For larger repairs, we build the surface in layers. Thin coats of joint compound are applied, allowed to dry, and sanded as needed. Each coat extends a little farther beyond the last one. This gradual process helps the repaired section fade naturally into the rest of the wall instead of leaving a noticeable raised circle or hard edge.
Rushing compound work can lead to problems that show up later, including:
- Shrinkage as the material dries
- Ridges around the outer edge of a patch
- Pinholes or shallow areas in the repair
- Uneven texture beside the repaired section
Careful drying time matters just as much as the materials themselves. A wall may look ready too soon, but paint applied over damp or poorly finished compound can reveal flaws that should have been addressed earlier.
Preparation Helps Repairs Blend Into the Wall
Sanding is where a repair begins to truly disappear. We are not only trying to make one spot feel smooth. We are working to create a gentle, even transition across the wall so the repaired area does not catch the light differently than the surrounding surface.
Angled light is especially helpful during this stage. A wall can feel smooth when you run a hand across it but still show a ridge under a lamp or window. We inspect repaired areas closely, checking for shallow spots, rough edges, and texture differences before moving ahead with primer.
Primer is another important step after drywall work. Fresh joint compound and exposed drywall can absorb paint differently than a wall that has already been painted. Spot priming repaired sections helps seal the surface and supports a more consistent finish coat.
Without proper primer, a patch may flash after painting. Flashing occurs when repaired areas look duller, shinier, or slightly different from the rest of the wall. It can be frustrating because the paint color may match, yet the wall still looks uneven from certain angles.
When one experienced crew handles repairs, priming, and finish coats, the work can follow one consistent standard from start to finish. Our licensed and insured team at Fix & Paint prepares interior walls with care, then applies paint with attention to coverage, clean lines, and a finish built to last.
Planning Interior Work During Early Fall
September is a practical time to think about indoor projects. As the late-summer heat begins to ease, many of us spend more time in living rooms, bedrooms, hallways, and home offices. Freshly repaired and painted walls can make these everyday spaces feel more polished before busy fall schedules and seasonal gatherings fill the calendar.
Interior work still benefits from the right conditions. Stable indoor temperatures, reasonable ventilation, and enough drying time help joint compound, primer, and paint perform as intended. Before work begins, we recommend preparing the room by removing wall décor, setting fragile items aside, and discussing how furniture and floors will be protected.
Drywall repairs can take more than one visit to the wall. Compound may need several coats, with drying and sanding between them, followed by primer and final paint. Planning ahead gives the work the time it needs and helps avoid rushing a room just before guests arrive or a space needs to be back in use.
A Smooth Wall Supports a Better Paint Finish
Fresh color cannot correct a damaged surface. Repairing cracks, dents, stains, old patches, and loose tape before painting protects the look of the finished room and helps your investment in new paint go further. A careful assessment also helps separate simple cosmetic repairs from wall damage that may need closer attention.
The best next step is to look at your walls in natural light and under the lighting you use each day. Notice any shadows, texture changes, soft areas, stains, or cracks before choosing a paint color. A thoughtful repair-and-paint plan gives each room the smooth foundation it needs for a clean, even finish.
Achieve A Smooth, Paint-Ready Finish
At Fix & Paint, we address the details that can affect the look and longevity of your interior paint. Our professional drywall repair and painting services help create a clean, consistent surface from wall to wall. If you are ready to discuss your project, contact us to get started.